There’s something incredibly nostalgic about biting into a Bounty Bar — the chewy coconut center, the snap of chocolate, and that sweet tropical escape in every bite. I remember as a child sneaking one from my grandmother’s candy stash, savoring that moment of indulgence. While the classic Bounty Bar hails from the British and Australian candy aisles, today I’m bringing you a homemade version that’s fresher, simpler, and honestly, even more delicious.
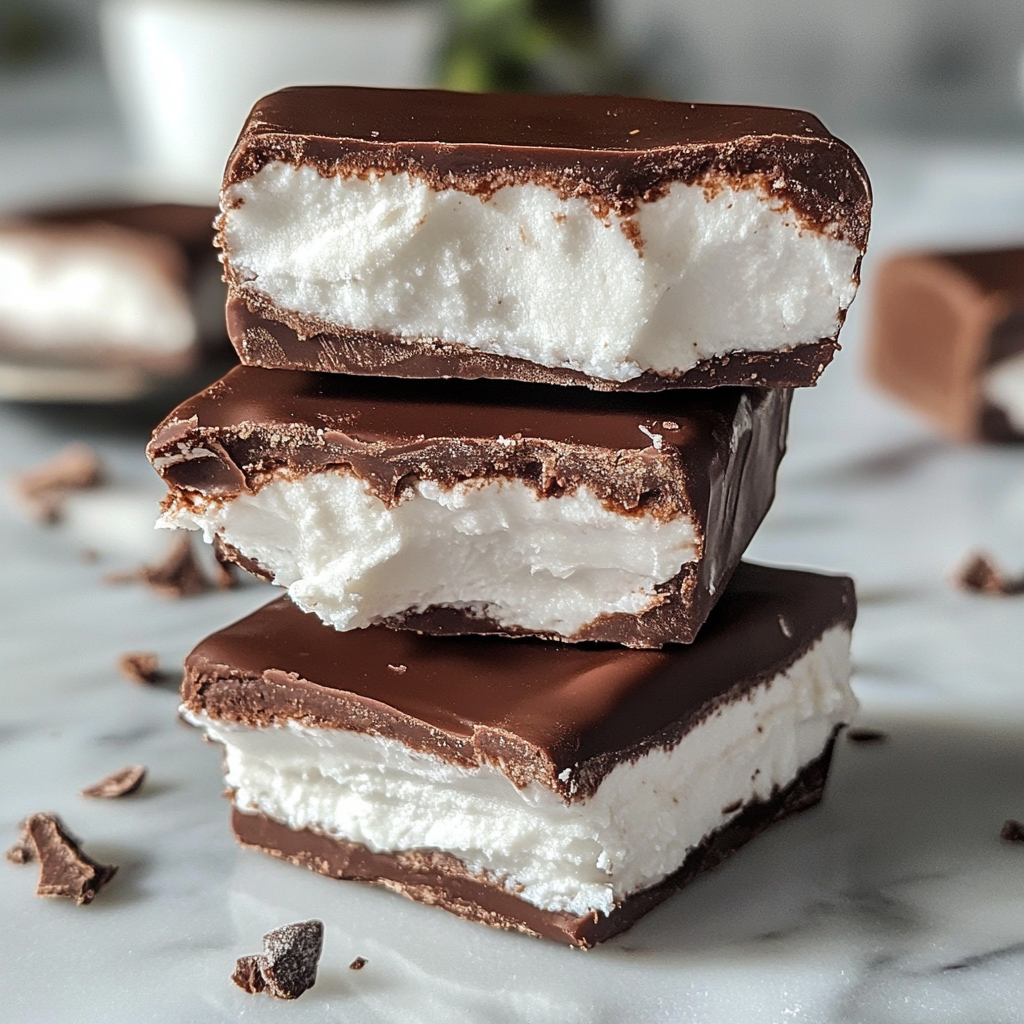
These no-bake Homemade Bounty Bars are my go-to treat when the summer heat kicks in. They’re refreshingly sweet, made with just a few ingredients, and stored chilled — making them the ultimate warm-weather dessert. Plus, they’re super fun to make with kids or when you’re in the mood for some hands-on kitchen joy!
Why You’ll Love These Homemade Bounty Bars
- 🌴 Tropical Flavor: Made with real shredded coconut, these bars are a vacation in every bite.
- 🥶 No-Bake & Chill: Skip the oven! These are fridge-friendly and summer-approved.
- 🍫 Customizable: Dark chocolate, milk chocolate, vegan options — make them your own!
- 🧒 Kid-Friendly: Easy for little hands to help shape and dip.
- 🎁 Perfect Gift: Wrap them up and share the sweetness!
Ingredients
Here’s what you’ll need for about 10–12 homemade coconut chocolate bars:
For the Coconut Filling:
- 2 cups unsweetened shredded coconut
- ½ cup sweetened condensed milk
- 1–2 tablespoons coconut cream (optional for added creaminess)
- 1 teaspoon vanilla extract (optional, for depth of flavor)
For the Chocolate Coating:
- 200g (7 oz) dark or milk chocolate, chopped or chips
- 1 tablespoon coconut oil (for smoother coating)
🌱 Want a vegan version? Use sweetened condensed coconut milk and dairy-free chocolate!
Instructions
Step 1: Mix the Coconut Filling
- In a mixing bowl, combine the shredded coconut and sweetened condensed milk. Add coconut cream and vanilla extract if using.
- Mix well until the mixture becomes sticky and you can press it together with your hands.
- Let it sit for 5–10 minutes — the coconut will absorb some moisture and bind better.
Step 2: Shape the Bars
- Line a tray with parchment paper.
- Using your hands or a small scoop, shape the coconut mixture into small logs or bars. Press firmly to compact them.
- Place the tray in the freezer for 20–30 minutes. This helps them hold shape when dipping in chocolate.
Step 3: Melt the Chocolate
- In a heatproof bowl, combine chopped chocolate and coconut oil.
- Melt using a double boiler or microwave in 20-second bursts, stirring until smooth and glossy.
Step 4: Dip and Chill
- Remove coconut bars from the freezer.
- Dip each one into the melted chocolate, coating fully. Use a fork to lift, letting excess drip off.
- Place back on the lined tray.
- Optionally, drizzle extra chocolate or sprinkle with coconut on top.
- Chill in the refrigerator for at least 30 minutes, or until set.
Tips & Tricks for Perfect Bounty Bars
- Compact your bars: Really press the coconut mixture firmly — it helps them hold shape.
- Chill time is key: Don’t skip the freezer step before dipping!
- Customize the chocolate: Try white chocolate, or add a pinch of sea salt on top for contrast.
- Storage: Keep in an airtight container in the fridge for up to 2 weeks (if they last that long!).
Variations to Try
- Almond Joy Style: Press a roasted almond on top of each bar before dipping.
- Vegan & Dairy-Free: Use coconut condensed milk and vegan chocolate.
- Minty Twist: Add a drop of peppermint extract for a cool, refreshing flavor.
Nutritional Note
These treats are naturally gluten-free and can be adjusted to suit vegan diets. While indulgent, they’re made from simple pantry ingredients — no additives or preservatives, just homemade goodness.
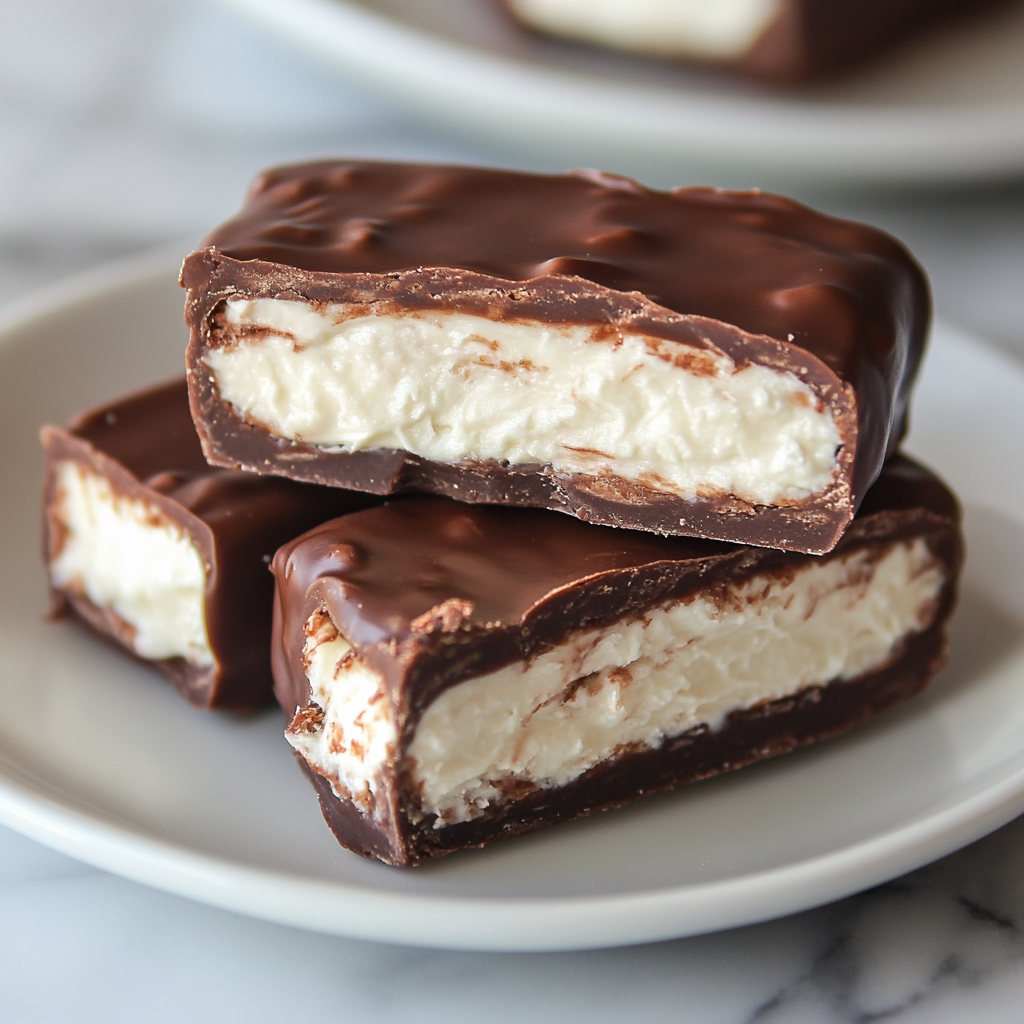
Serving Ideas
- 🧊 Chilled Summer Dessert: Serve after a BBQ or picnic as a cool-down sweet.
- ☕ With Coffee: A perfect pairing with iced espresso or your favorite brew.
- 🎉 Party Treats: Slice into mini bites for your next summer get-together.
- 🎁 Homemade Gift: Wrap in parchment and tie with twine for a rustic candy gift.
Why Make Them at Home?
There’s a certain joy in making candy from scratch — the feel of the ingredients, the satisfaction of seeing them come together. And with Homemade Bounty Bars, you skip the artificial stuff and create something truly delightful with just a handful of ingredients. Whether you’re chasing childhood nostalgia or simply craving coconut, this recipe hits the spot every time.
Reader Favorite Add-Ons
💬 “I added a few drops of orange extract for a citrusy twist. So good!” – Mia R.
💬 “Tried them with dark chocolate and a pinch of sea salt — game changer!” – James K.
💬 “My kids helped shape them — messy but so fun!” – Rachel M.
Final Thoughts
These Homemade Bounty Bars are the definition of simple joy — no baking, just blending, chilling, dipping, and devouring. Whether you’re new to candy-making or a seasoned treat master, this recipe will win your heart (and your sweet tooth!).
So grab that coconut and chocolate, and treat yourself to a homemade taste of tropical heaven. And don’t forget to tag your creations — I’d love to see how yours turn out!
Table of Contents
External Resources
Here are some links to level up your baking game:

