A Taste of Nostalgia and Simplicity
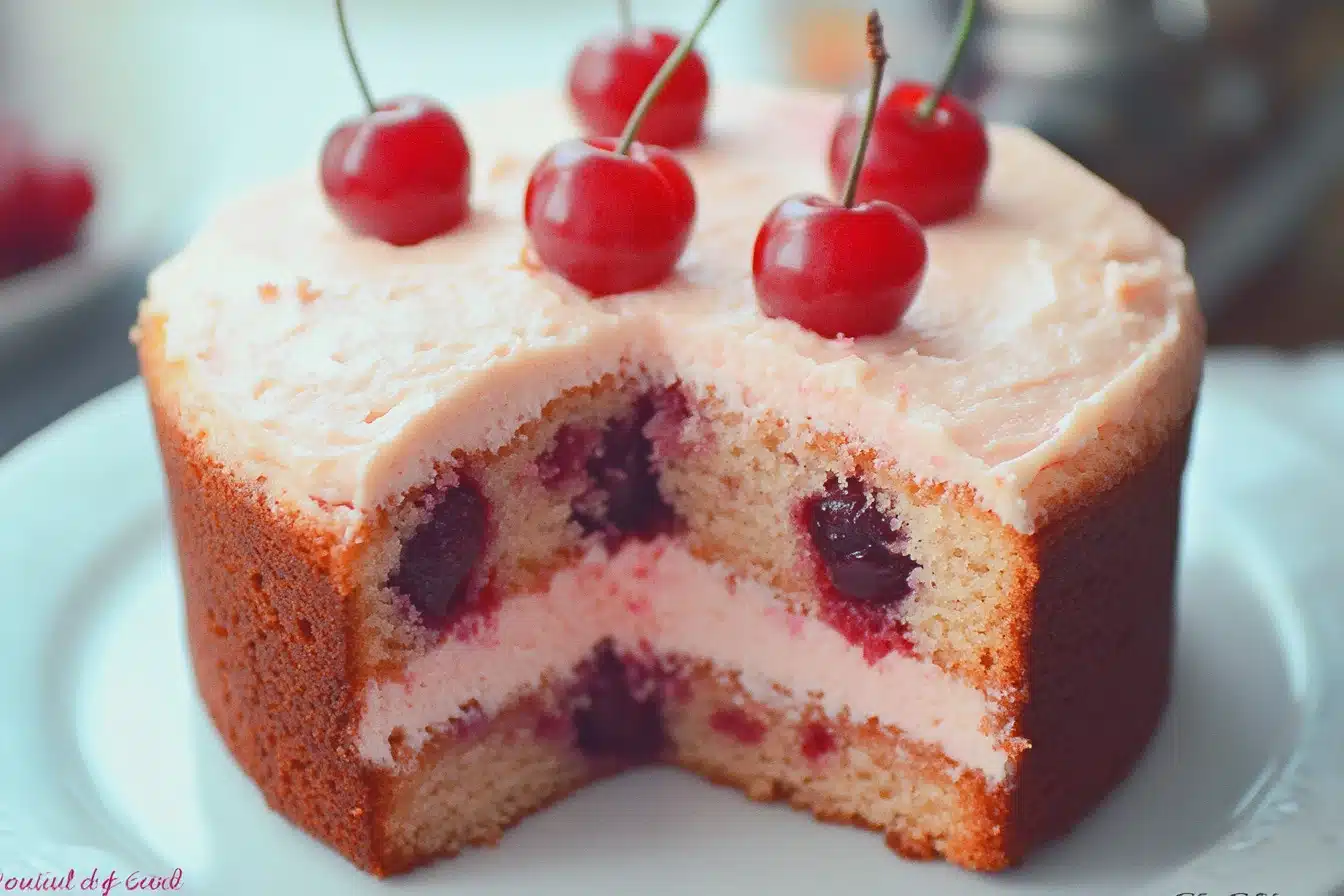
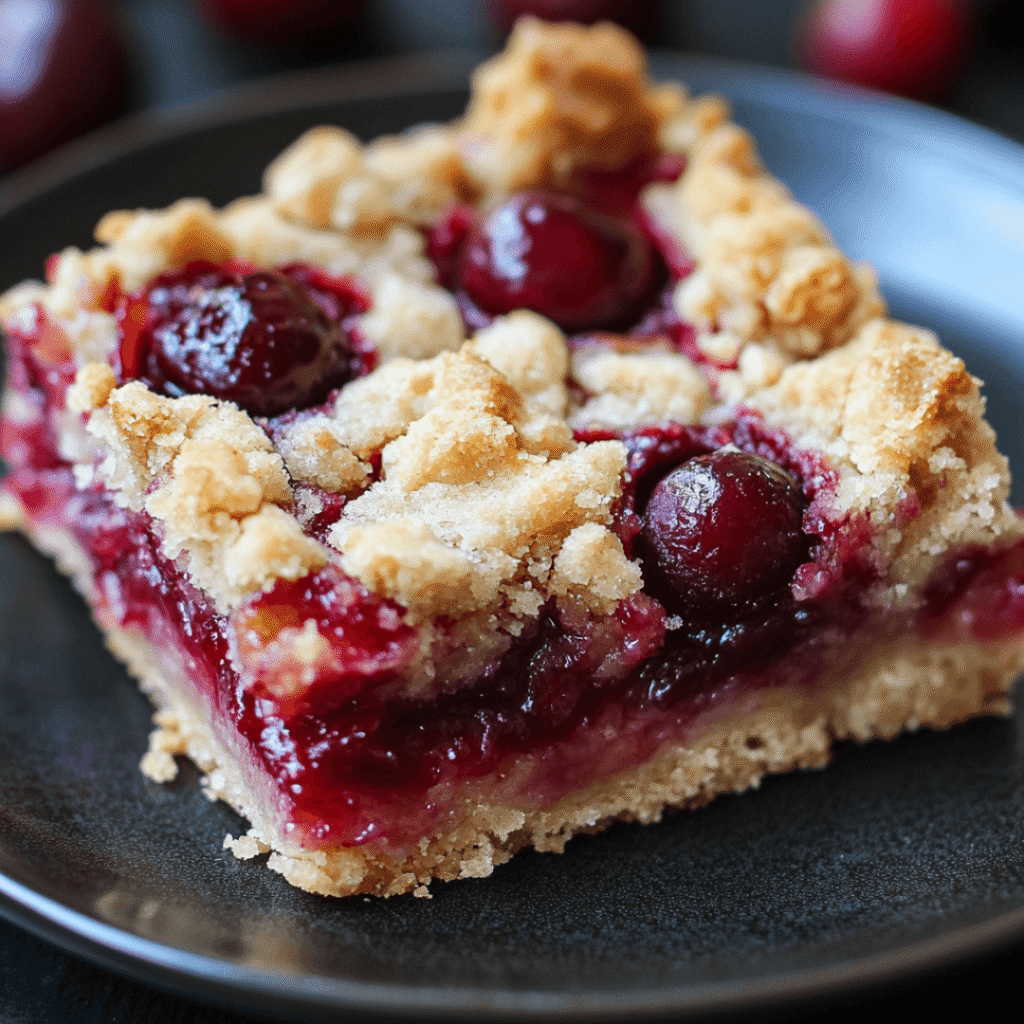
There are few things that stir the senses and memories quite like the aroma of cherries bubbling in their own juices beneath a buttery, crumbly topping. For me, Cherry Pie Crumb Bars are more than just a treat—they are a cherished memory from summers spent in my grandmother’s countryside kitchen. This dessert combines the soul of a cherry pie with the simplicity and versatility of a bar, offering comfort, indulgence, and delight in every bite.
These bars are not only rich in flavor but also in practicality. Whether you’re baking for a crowd or looking for a homemade snack to brighten a workday, this recipe ticks all the boxes. In this expanded guide, we’ll cover everything you need to know about making the perfect Cherry Pie Crumb Bars—from detailed ingredients and steps to variations, storage tips, nutritional information, and pairing ideas.
Why Cherry Pie Crumb Bars Are So Beloved
What makes Cherry Pie Crumb Bars a standout dessert in home kitchens around the world?
1. Convenience Over Complexity
- No Pie Crust Skills Needed: You don’t need to roll or blind-bake anything. The crust and crumb are made from the same dough.
- Simple Equipment: A mixing bowl, spatula, and a 9×13-inch pan are all you need—no fancy tools required.
- Quick Prep Time: The entire prep takes less than 25 minutes.
2. Perfect for All Seasons
- Summer Favorite: Use fresh cherries at their peak.
- Winter Comfort: Frozen cherries bring the flavor of summer into the colder months.
3. Versatile Occasions
- Bake Sales: These bars are portable and crowd-pleasing.
- Picnics and Potlucks: No forks or plates needed.
- Holiday Tables: A great alternative or addition to traditional pies.
- Everyday Snacks: Enjoy with coffee, tea, or just as a sweet pick-me-up.
Ingredients: From Pantry Staples to Seasonal Stars
This recipe uses ingredients that are easy to find and possibly already in your kitchen.
Crust and Crumb Topping
| Ingredient | Amount | Function |
|---|---|---|
| All-purpose flour | 2 ½ cups | Base for structure |
| Granulated sugar | ¾ cup | Sweetens the dough |
| Baking powder | ½ teaspoon | Adds slight lift |
| Salt | ¼ teaspoon | Enhances flavor |
| Lemon zest (optional) | From 1 lemon | Adds freshness |
| Unsalted butter (cold) | 1 cup (2 sticks) | Creates a tender, crumbly texture |
| Egg | 1 large | Binds the mixture |
| Almond extract | ½ teaspoon | Adds nutty, aromatic note |
Cherry Filling
| Ingredient | Amount | Function |
|---|---|---|
| Fresh or frozen cherries | 3 cups | Star of the show |
| Granulated sugar | ⅓ cup | Sweetens the fruit |
| Cornstarch | 1 tablespoon | Thickens the filling |
| Lemon juice | 1 tablespoon | Adds brightness |
| Vanilla extract | ½ teaspoon | Enhances sweetness |
Step-by-Step Instructions
This recipe follows a simple, logical process. Here’s how to build your cherry pie crumb bars from scratch.
Step 1: Preheat and Prepare Your Pan
- Preheat oven to 350°F (175°C).
- Line a 9×13-inch baking pan with parchment paper, leaving some overhang to lift the bars out later.
- Grease lightly if not using parchment.
Step 2: Make the Crust and Crumb Dough
- Mix dry ingredients: In a large bowl, combine flour, sugar, baking powder, salt, and optional lemon zest.
- Cut in the butter: Add cubed, cold butter. Use a pastry cutter or your fingers to blend until you get coarse crumbs.
- Add wet ingredients: Mix in the egg and almond extract. Stir until crumbly but slightly moist.
- Reserve topping: Set aside about 1/3 of the dough to use later as the crumb topping.
- Form the crust: Press the remaining 2/3 of the dough firmly into the bottom of your prepared pan.
Step 3: Prepare the Cherry Filling
- Combine cherries and ingredients in a saucepan.
- Simmer gently over medium heat, stirring often, until the mixture thickens—about 6–8 minutes.
- Cool slightly before spreading over the crust.
Step 4: Assemble and Bake
- Spread cherry mixture evenly over the crust.
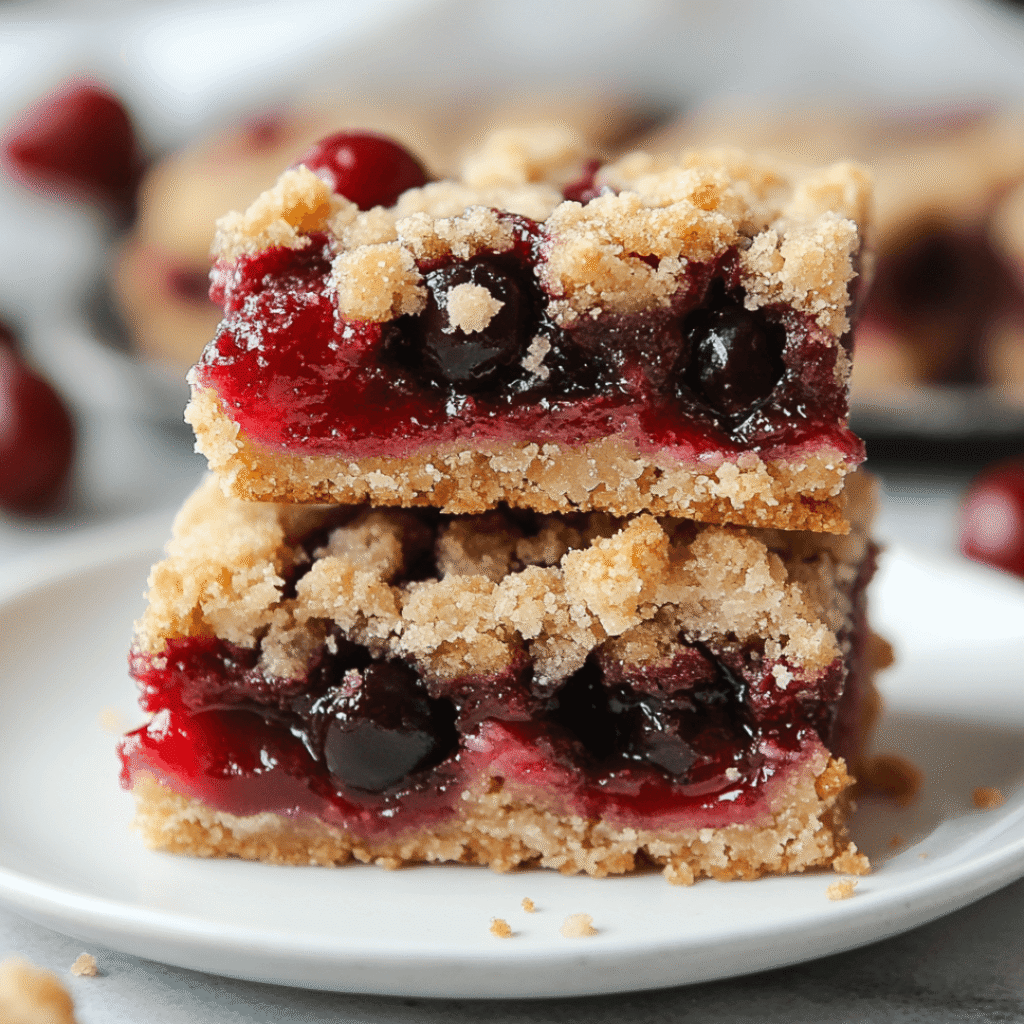
- Sprinkle the reserved crumb dough evenly over the top—don’t worry if some fruit shows through.
- Bake for 35–40 minutes, or until the top is golden brown.
- Cool completely in the pan before slicing into squares or bars.
Tips and Tricks for Perfect Bars
To get professional-quality results every time, consider these helpful pointers:
Tips for the Dough
- Use cold butter straight from the fridge to get a crumbly texture.
- Don’t overmix; too much mixing can make the dough tough.
- A little almond extract goes a long way—don’t overdo it.
Tips for the Filling
- Adjust sugar based on the sweetness of your cherries.
- Thicken properly by simmering long enough for cornstarch to activate.
- Cool slightly before layering—it keeps the crust from getting soggy.
Baking and Cutting Tips
- Let it cool fully before slicing—this helps bars firm up.
- Use a serrated knife for clean cuts.
- Wipe between slices to keep edges tidy.
Serving and Pairing Ideas
These crumb bars are perfect on their own or elevated with a few simple additions.
Serving Suggestions
- Serve warm with vanilla ice cream for a dessert-style treat.
- Dust with powdered sugar just before serving.
- Drizzle with glaze made from powdered sugar and milk for a bakery-style finish.
Pairing Suggestions
| Beverage | Why It Works |
|---|---|
| Black coffee | Cuts the sweetness with a rich contrast |
| Iced tea with lemon | Refreshes the palate |
| Sparkling rosé | Complements cherry flavor beautifully |
| Masala chai | Adds spice to each bite |
Creative Variations
While this recipe is delicious as written, you can easily change it up to suit your mood or season.
Flavor Variations
- Use blueberries, raspberries, or apricots for different fruity centers.
- Add cinnamon or nutmeg to the crust for a spiced version.
- Swap almond extract for vanilla, orange, or lemon extract.
Texture Additions
- Add chopped nuts (e.g., walnuts, pecans) to the crumb topping.
- Mix oats into the topping for a rustic feel.
- Incorporate shredded coconut for a tropical twist.
Storage and Make-Ahead Tips
These bars are perfect for prepping in advance or storing for later enjoyment.
Storage Guidelines
| Storage Method | Duration | Notes |
|---|---|---|
| Room Temperature | 2–3 days | Store in an airtight container |
| Refrigerator | Up to 5 days | Keeps bars firmer |
| Freezer | Up to 3 months | Wrap tightly in plastic and foil |
Make-Ahead Tips
- Freeze unbaked crust and crumb mixture for up to 1 month.
- Prepare cherry filling a day ahead and refrigerate.
- Bake, cool, and freeze whole pan, then slice when ready to serve.
Nutritional Information
Each serving provides balanced indulgence. Here’s a general overview:
| Nutrient | Approximate Amount |
|---|---|
| Calories | 240 kcal |
| Total Fat | 11g |
| Saturated Fat | 7g |
| Cholesterol | 35mg |
| Sodium | 80mg |
| Carbohydrates | 34g |
| Sugars | 18g |
| Dietary Fiber | 1g |
| Protein | 2g |
Note: Nutritional values vary based on ingredients used.
Frequently Asked Questions
Can I use canned cherries instead of fresh or frozen?
Yes, but opt for unsweetened canned cherries and adjust sugar levels accordingly.
Can these be made gluten-free?
Absolutely. Substitute with a gluten-free flour blend, and ensure other ingredients are gluten-free.
Can I double the recipe?
Yes. Use two pans or a larger baking dish. Adjust baking time slightly.
How do I prevent the bars from falling apart?
Cool them completely, refrigerate before slicing, and use a sharp knife.
A Bar to Remember
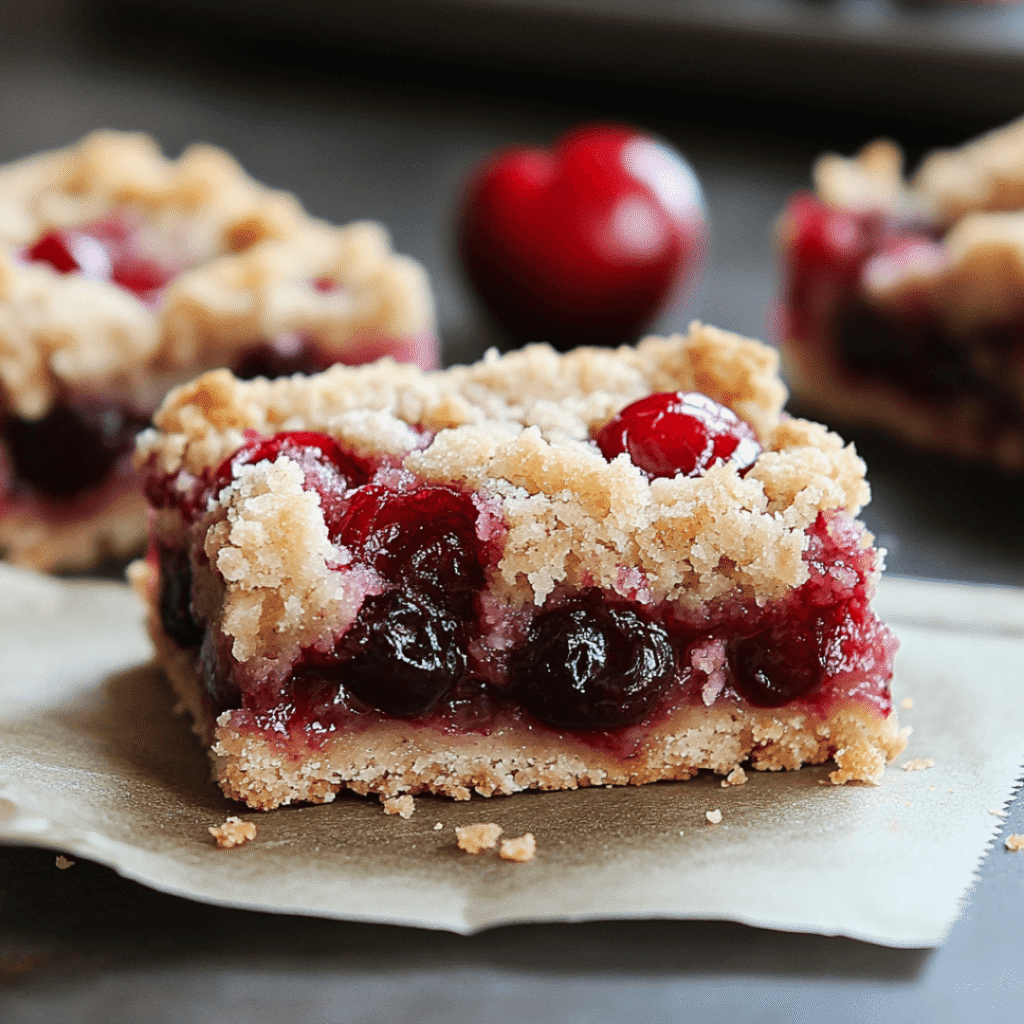
Cherry Pie Crumb Bars are a timeless dessert that speaks to the heart. They offer all the pleasure of a traditional cherry pie with a fraction of the work. Perfect for beginner bakers and seasoned home chefs alike, they are as adaptable as they are delicious. Whether you’re making them for a party, holiday, or just to satisfy a mid-week sweet tooth, they will never disappoint.
So go ahead—get those cherries, preheat your oven, and bring a touch of old-world charm and modern ease into your kitchen. Your friends and family will thank you with every bite.

